Can I Replace an Air Conditioner Capacitor Myself?
An air conditioner capacitor is a vital component that plays a crucial role in the proper functioning of your AC system. It stores electrical energy and releases it to start the compressor, the heart of the AC unit. A faulty capacitor can lead to various issues, including humming noises, overheating, reduced cooling efficiency, and even system failure.
Safety Precautions
Working with electrical components can be hazardous, so it's essential to take necessary safety precautions before attempting to replace an air conditioner capacitor.
- Turn off the power supply to the AC unit at the circuit breaker or fuse box.
- Wear protective gear such as gloves, safety glasses, and non-conductive clothing.
- Use insulated tools to minimize the risk of electrical shock.
- Discharge the capacitor before handling it to avoid electrical shocks.
Tools And Materials Required
To replace an air conditioner capacitor, you will need the following tools and materials:
- Multimeter
- Screwdriver
- Wire stripper
- Replacement capacitor (matching the specifications of the original capacitor)
- Electrical tape
- Non-conductive gloves
- Safety glasses
Step-by-Step Guide To Replacing The Capacitor
- Turn Off the Power: Before starting any work, turn off the power supply to the AC unit at the circuit breaker or fuse box.
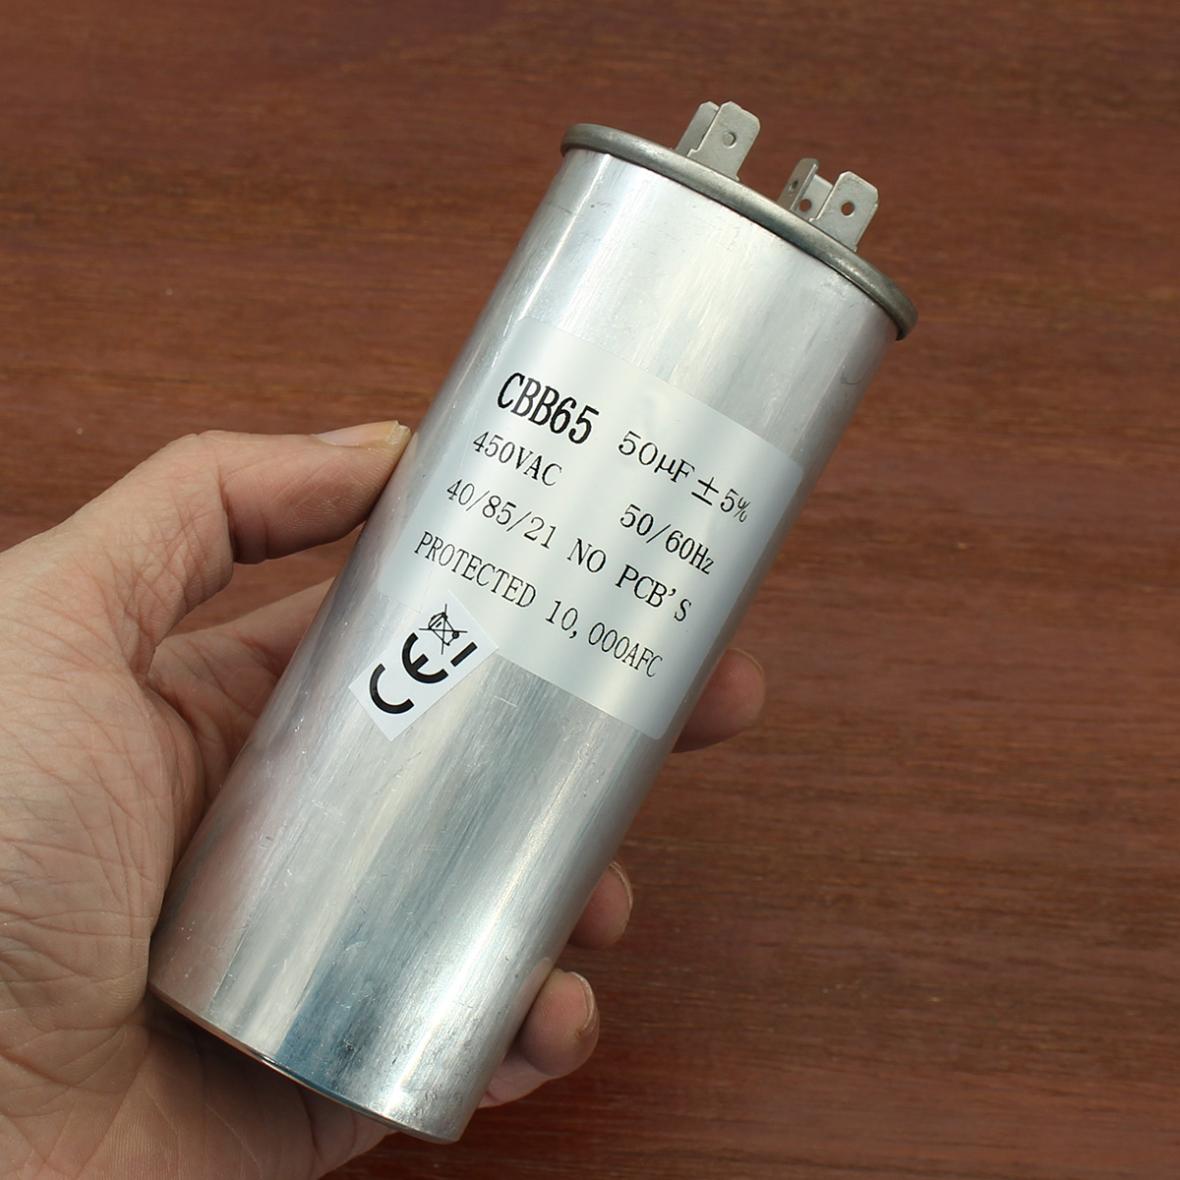
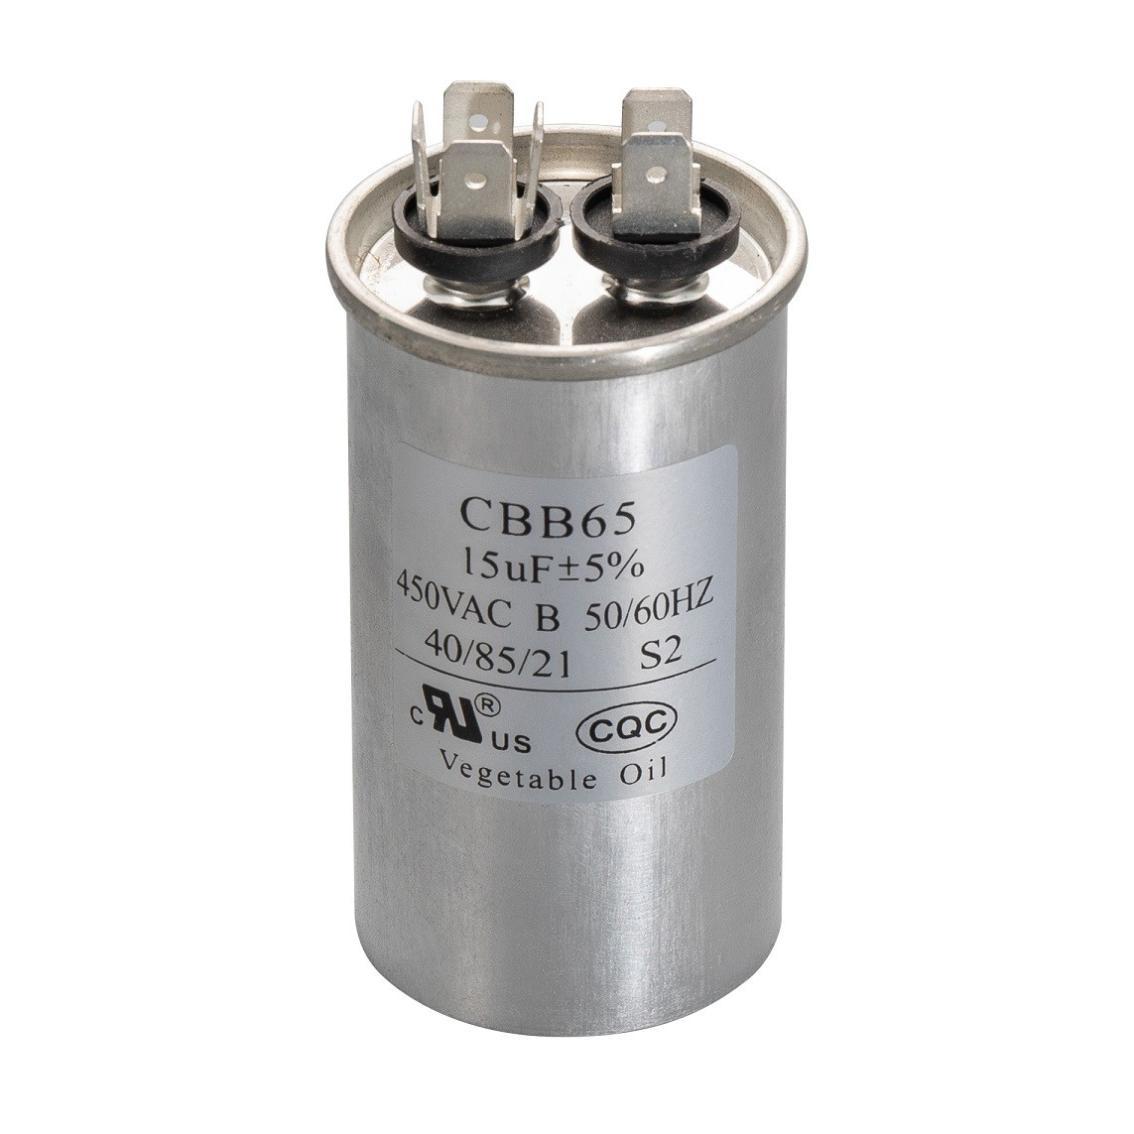
- Locate the Capacitor: The capacitor is typically located inside the outdoor unit of the AC system. It's usually a cylindrical or oval-shaped component with two terminals.
- Discharge the Capacitor: Using a multimeter, discharge the capacitor by touching the probes to the capacitor terminals. Hold them there until the voltage reading drops to zero.
- Disconnect the Wires: Loosen the screws or terminals connecting the wires to the capacitor. Be careful not to touch any exposed wires.
- Remove the Old Capacitor: Once the wires are disconnected, remove the old capacitor by unscrewing or unbolting it from its mounting bracket.
- Install the New Capacitor: Position the new capacitor in place of the old one and secure it using the mounting screws or bolts.
- Reconnect the Wires: Reconnect the wires to the terminals of the new capacitor, ensuring proper polarity (positive to positive and negative to negative).
- Test the System: Turn on the power supply to the AC unit and check if it's functioning properly. The system should start up smoothly without any unusual noises or vibrations.
Troubleshooting Common Issues
If you encounter any problems during the capacitor replacement process, here are some common issues and troubleshooting tips:
- Loose Connections: Ensure that all wire connections are tight and secure. Loose connections can cause arcing and overheating.
- Incorrect Capacitor Selection: Make sure you have selected the correct replacement capacitor that matches the specifications of the original capacitor.
- Persistent AC Problems: If the AC unit still has problems after replacing the capacitor, there may be other underlying issues. Consider seeking professional help from an HVAC technician.
Replacing an air conditioner capacitor can be a straightforward task for those with basic electrical knowledge and skills. However, it's crucial to prioritize safety and follow the proper steps to avoid potential hazards. If you're unsure about any aspect of the process, it's best to consult a qualified HVAC technician for assistance.
YesNo

Leave a Reply